Chris Alexander
5th September, 2016
There are now quite a few good hosting options if you’re looking to deploy static web content online. Github Pages is a good one and free so long as you don’t mind your code being open-source.
An alternative which I used recently is Azure Blob storage. When you already have code setup in VSTS, perhaps with a build and an Azure account already, then this can be a convenient route to go down.
I can envisage it being quite useful for hosting documentation that is generated by builds, code docs, API information, or even websites if you so wished.
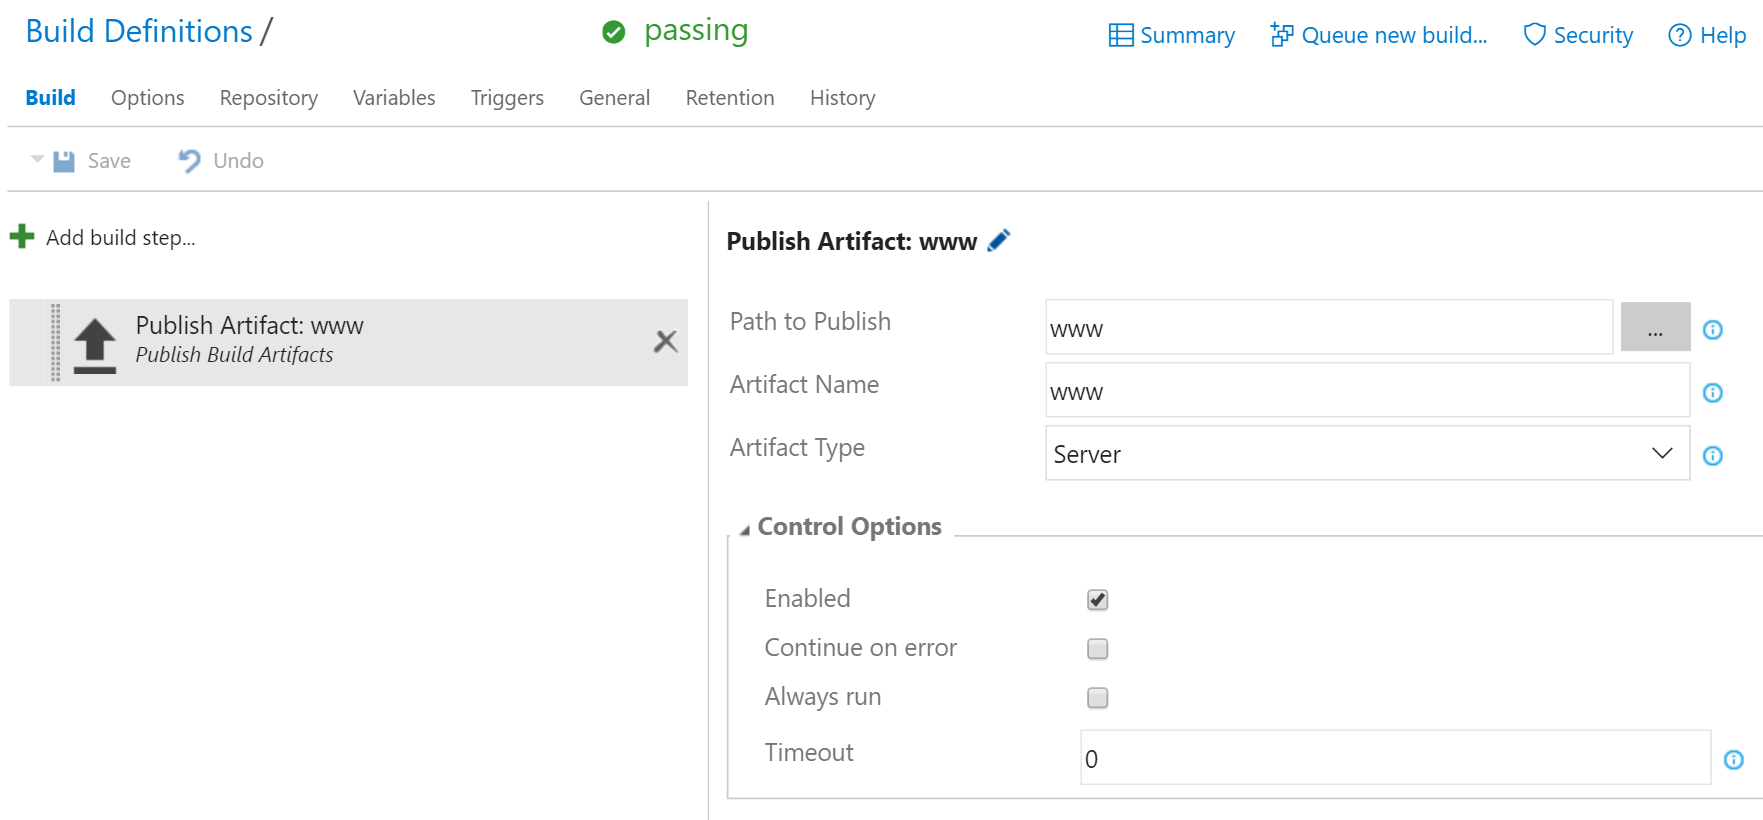
The first step is to output your static HTML, javascript, images, content etc. to a build artifact.
Build artifacts are a useful way of collecting together build output and making the resources easily accessible.
In this example I am using an artifact to collect together everything for the static site. This example build step collects everything in the “www” folder and puts it in an artifact called “www”; you can collect from wherever you need to.
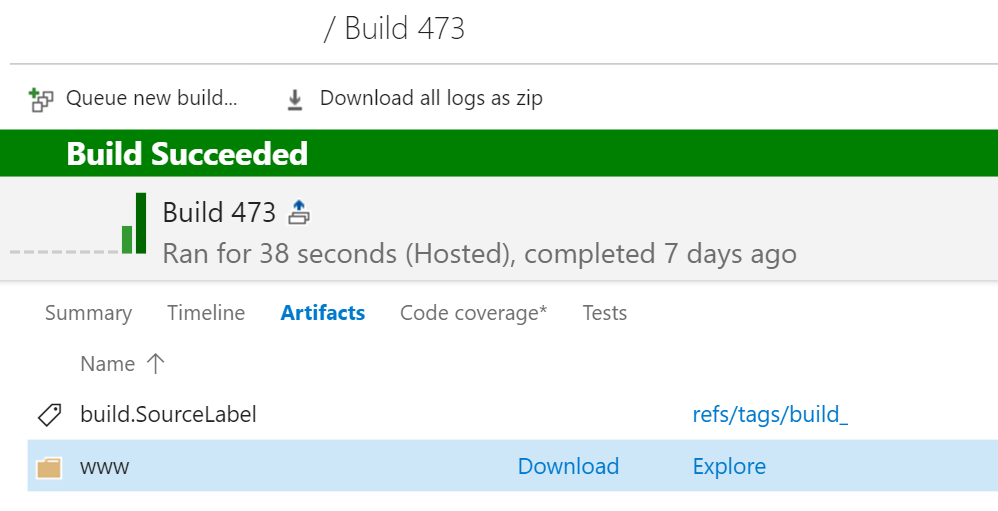
Now when you do a build, you should see the “www” artifact in your ouput:
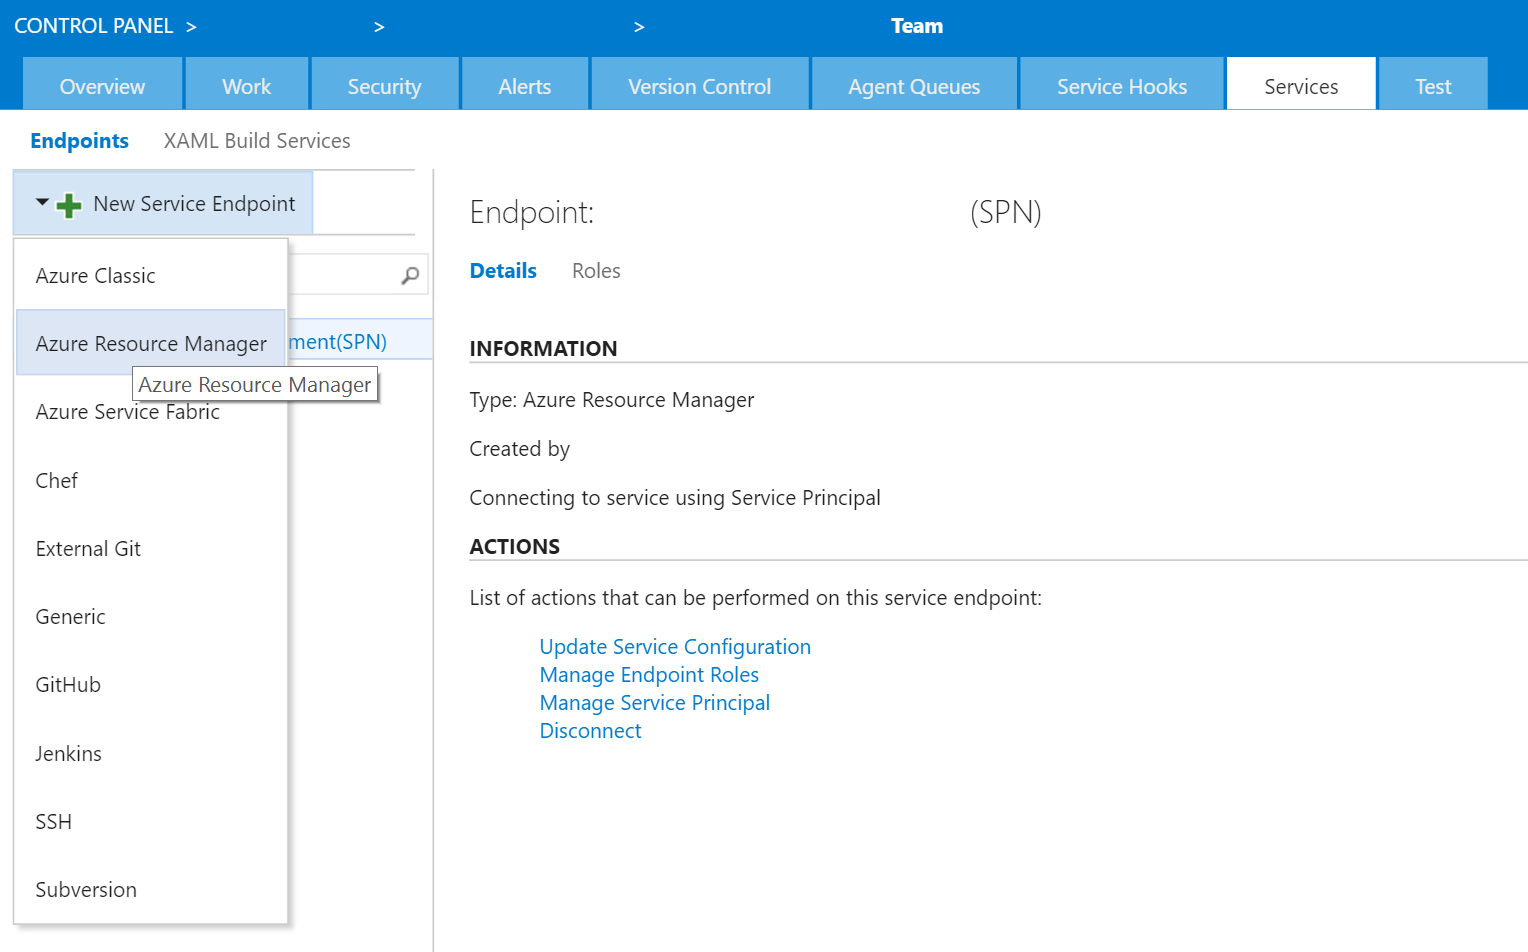
Next you need to link your VSTS account to your Azure account.
This is tricky if you are not an admin for both, so that is the way that I ended up going.
In your control panel in VSTS, add a new Azure Resource Manager endpoint:
This was a bit long-winded when I did it, but if you are linked once, you are linked for good and can do all kinds of things later on :-)
I created a new blob storage account in the Azure portal, and created a new container within it in which to place my website:
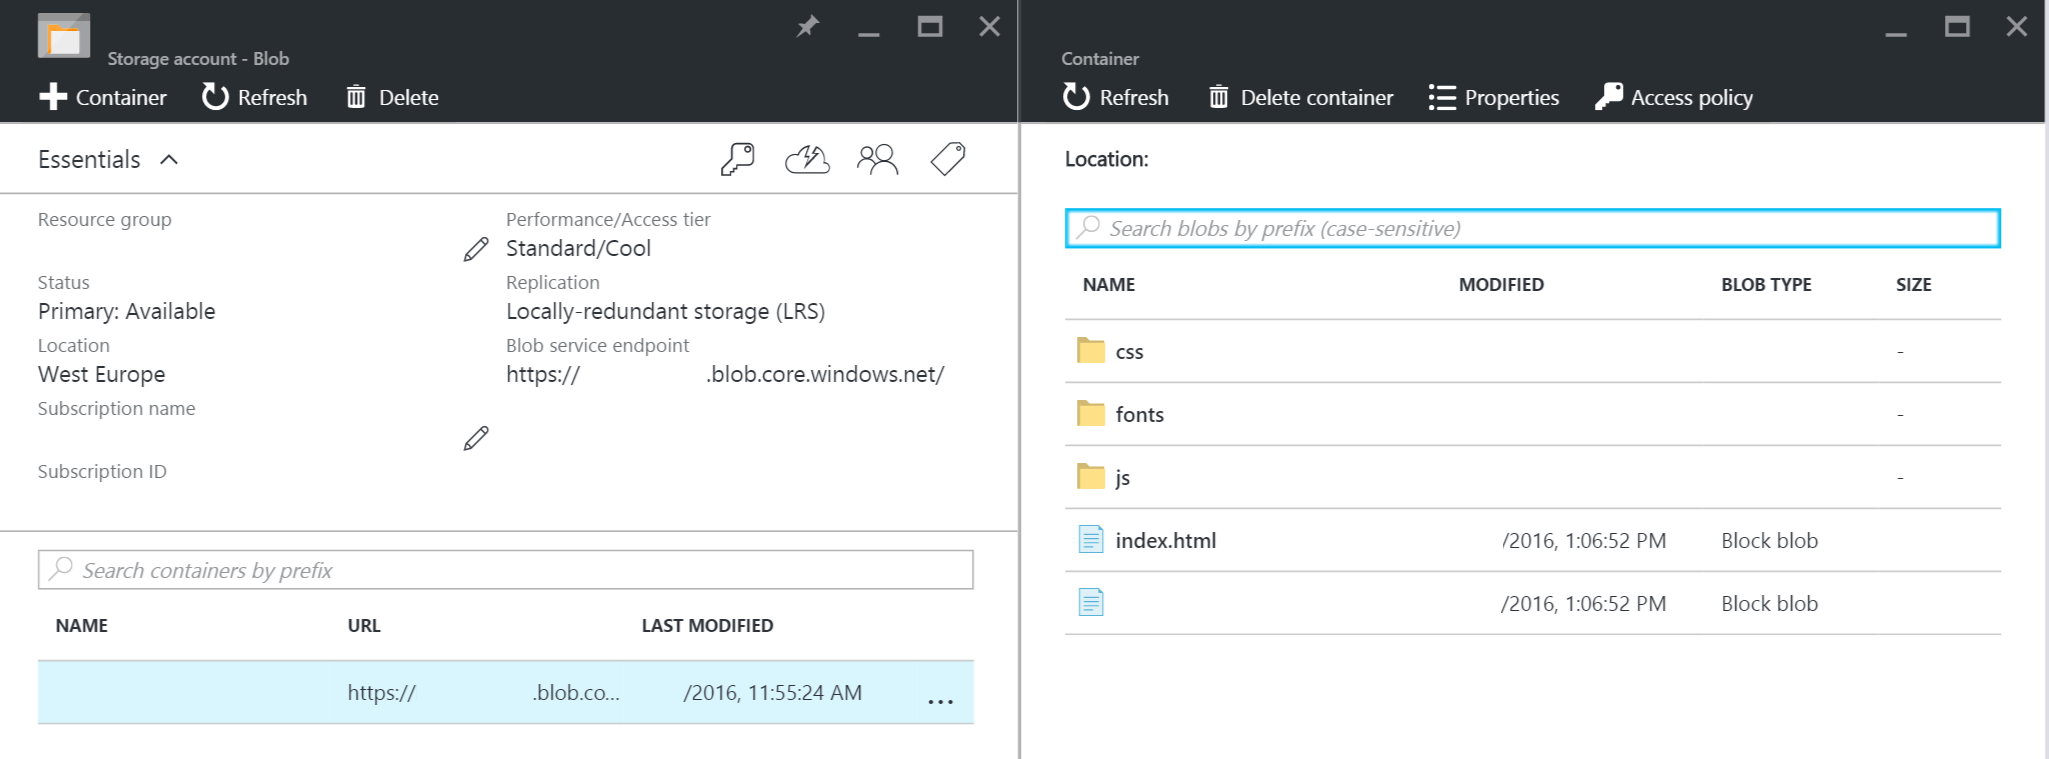
Note the account and container names, as your website contents will end up at the URI https://ContainerName.blob.core.windows.net/ContainerName/ etc. so pick good names! You can of course alias domains later if you want to, but I didn’t bother (I just needed it hosted somewhere!)
VSTS has the useful concept of separation of Builds and Releases.
I quite like this as it allows you to have separate release streams depending on some quite complex logic, including if you happen to need human sign-off as part of the process. You can also have “channels” which deploy at varying speeds, as well as “environments” so you can deploy to all sorts of different places.
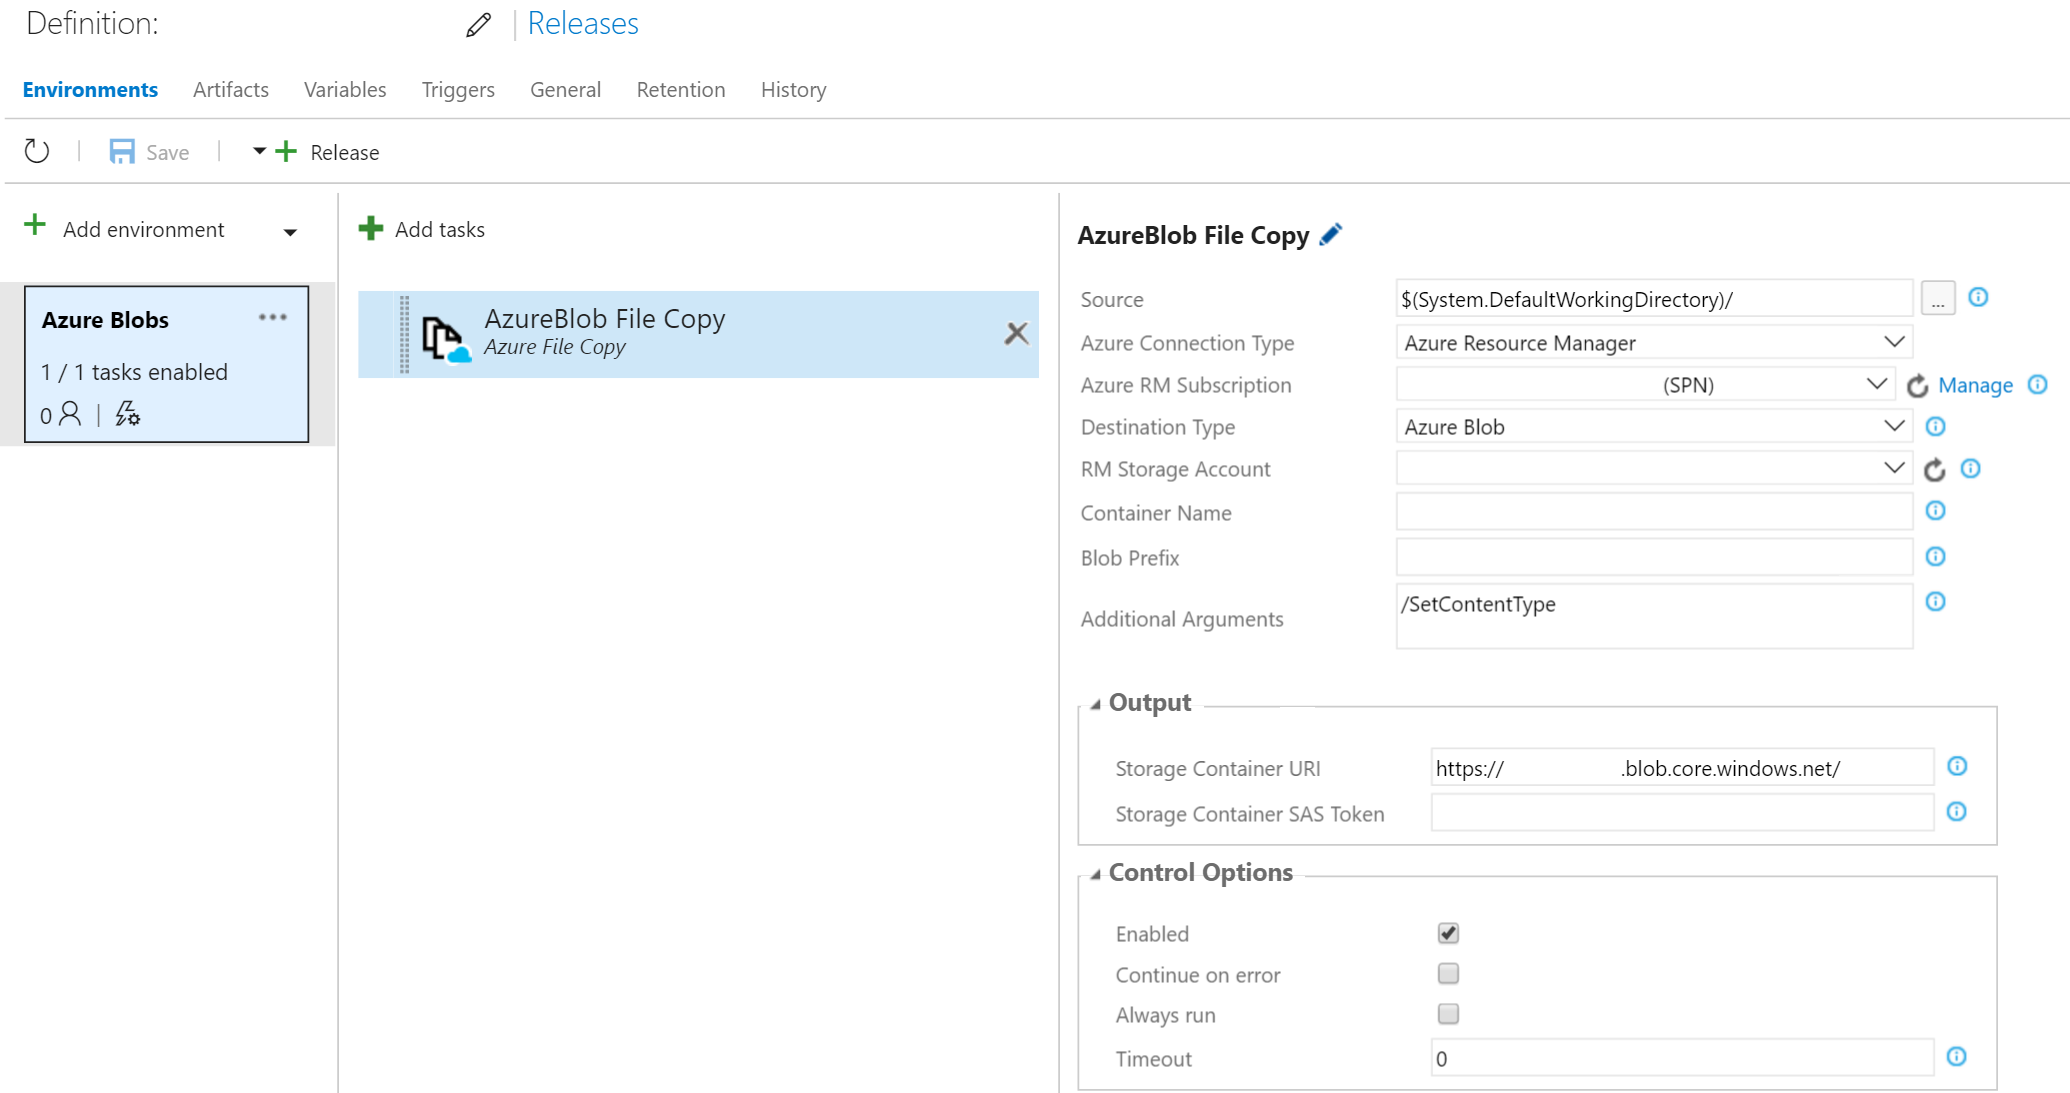
For this task you can just use the simplest of releases. I created one with one environment, Azure Blobs, and configured one task to deploy my “www” artifact from the specified build to the Azure blob container I created moments ago.
Now this is setup, when you kick off a Release, the contents of the last build are put in your blob, and your site is updated.
Of course, if you want to go the continuous deployment route, you can do that - just set up the Release so that it kicks off every time a build succeeds.